Aider AI Setup Tutorial: Complete Guide to the Terminal Agent
Published: July 1, 2026 • Written by Alex Rivera • Read Time: 15 min • Word Count: 2,150 words
1. Introduction: The Power of Terminal-Based AI
The developer ecosystem in 2026 is flooded with AI coding assistants. From chat sidebars in your IDE to full-fledged visual desktop environments, there is no shortage of ways to write code using natural language. However, for many senior developers, systems architects, and terminal purists, leaving the command line is a major disruption to "the flow."
This is where **Aider AI** shines.
Aider is a command-line chat tool that lets you write code with LLMs directly in your local terminal. Unlike traditional chat interfaces that require manual copy-pasting, Aider edits files directly in your local git repository. It is designed to work with your existing editor, terminal, and git workflow, making it one of the most powerful and seamless developer productivity multipliers available today.
In this comprehensive, step-by-step tutorial, we will walk through installing, configuring, and mastering Aider AI in 2026. You will learn how to connect Aider to state-of-the-art models (like Claude 3.5/4.6 Sonnet and GPT-4o), configure advanced repository maps, and leverage Aider's native Git integration to automate your daily development loop.
2. What is Aider AI?
**Aider** is an open-source, terminal-based AI coding assistant. It operates directly inside your local git repository, allowing you to edit existing files, create new modules, and debug errors using natural language.
What makes Aider uniquely powerful is its **Git-Native Architecture**:
- Automatic Commits: Every time Aider successfully edits your files in response to a prompt, it automatically commits the changes with a highly descriptive, conventional commit message (e.g., `feat: implement user authentication middleware`).
- Repository Mapping: Aider automatically builds a high-level map of your entire codebase using tree-sitter. This map is sent to the LLM, giving the model a deep understanding of your project's structure, classes, and function signatures without wasting massive amounts of context tokens.
- Multi-File Editing: Aider can analyze and edit multiple files simultaneously, ensuring that changes in your database schema are correctly reflected in your API routes and frontend components.
3. Prerequisites & Requirements
Before installing Aider, ensure your development machine meets the following requirements:
- Python 3.9 - 3.12 installed and configured.
- Git installed and initialized in your project folder. (Aider requires an active git repository to track changes and perform automatic commits).
- An active API key from a supported provider. We highly recommend **Anthropic (Claude 3.5/4.6 Sonnet)** or **OpenAI (GPT-4o)** for the best coding performance.
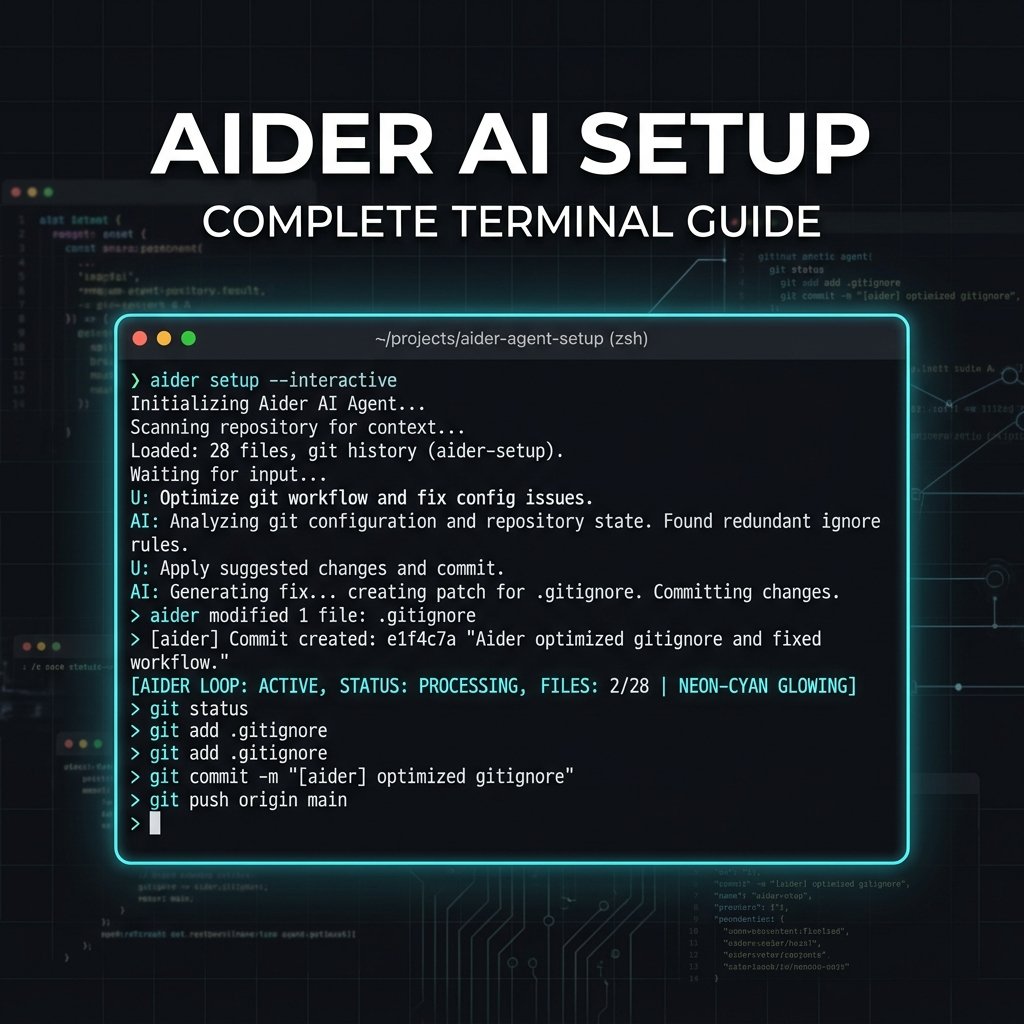
In-Content Image Placement
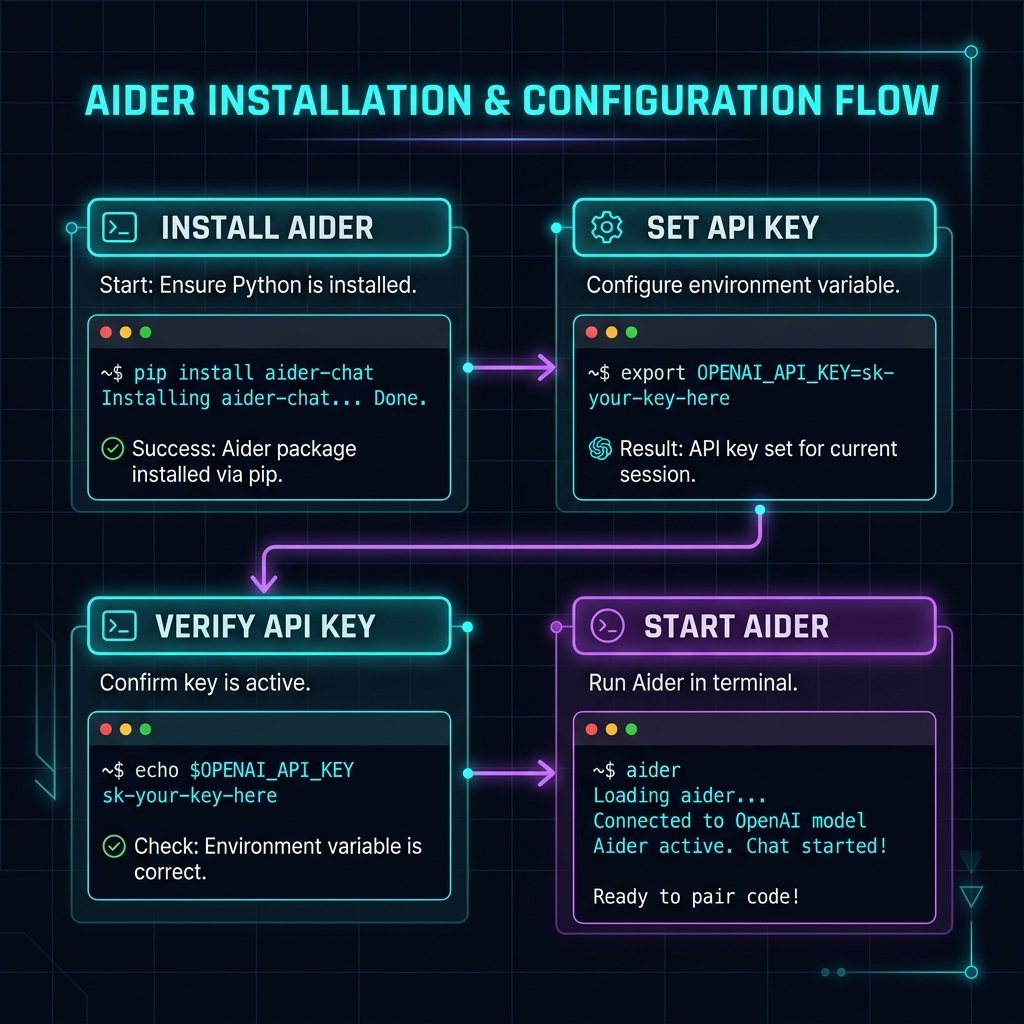
4. Step-by-Step Installation Guide
Let's install Aider using Python's package manager, `pip`. We highly recommend installing Aider in a global virtual environment or using `pipx` to avoid dependency conflicts with other Python packages.
Step 1: Install Aider Globally
Open your terminal and run the following command to install Aider:
pip install aider-chat
Step 2: Configure Your API Keys
Aider needs access to an LLM provider to function. Set your API key as an environment variable in your shell configuration file (e.g., `.bashrc`, `.zshrc`, or Windows Environment Variables):
# For macOS / Linux (Zsh)
export ANTHROPIC_API_KEY="your-anthropic-api-key-here"

# For Windows (PowerShell)
$env:ANTHROPIC_API_KEY="your-anthropic-api-key-here"
Step 3: Launch Aider in Your Repository
Navigate to your project directory, ensure git is initialized, and launch Aider:
cd /path/to/your/project
git init
aider
Aider will start, automatically detect your git repository, build a codebase map, and open an interactive chat prompt.
5. Advanced Configuration: The `.aider.conf.yml` File
To avoid typing command-line flags every time you launch Aider, you can create a global or project-specific configuration file named `.aider.conf.yml`.
Here is a highly optimized, production-ready `.aider.conf.yml` configuration:
# Aider Configuration File (2026)
model: claude-3-5-sonnet-20241022
auto-commits: true
dirty-commits: false
dry-run: false
map-tokens: 1024
dark-mode: true
show-diffs: true
exclude:
  - "**/node_modules/**"
  - "**/.next/**"
  - "**/dist/**"
  - "package-lock.json"
Place this file in your project root or your home directory (`~/.aider.conf.yml`) to ensure Aider always loads with your preferred settings.
6. Core Developer Workflow: Mastering the Chat Commands
Once Aider is running, you interact with it using natural language. However, Aider also supports several **slash commands** that allow you to manage files, inspect changes, and control the agent's context.
Here are the most essential commands you need to master:
-
`/add [file]`:
Adds a file to the active chat context. Aider can only edit files that have been explicitly added to the context, which prevents the model from making accidental changes to unrelated files.
-
`/drop [file]`:
Removes a file from the active chat context to save tokens and keep the model focused.
-
`/undo`:
If Aider makes a change that you don't like, simply type `/undo`. Aider will automatically perform a git reset to revert the last commit, bringing your repository back to its exact state before the edit.
-
`/test [command]`:
Runs your test suite (e.g., `/test npm run test`). If the tests fail, Aider will automatically read the error logs, fix the code, and re-run the tests in a loop until they pass.
7. Conclusion: The Terminal Developer's Ultimate Companion
Aider AI is a masterclass in clean, zero-noise developer tooling. By operating directly inside your terminal, leveraging your local git repository, and automating the commit loop, Aider provides an incredibly fast and fluid coding experience that keeps you focused on building great software.
Whether you are building a small personal prototype or maintaining a massive enterprise codebase, installing and configuring Aider is one of the best upgrades you can make to your development environment in 2026.
To optimize your terminal environment for Aider, check out our guide on VS Code Profiles Setup, or read our in-depth analysis of Claude Code vs Cursor to see how terminal agents compare to visual IDEs.

About the Author: Alex Rivera
Founder & Editor-in-Chief, The Byte 404
Alex is a former Senior Systems Architect at Netflix and Stripe with over 15 years of experience building high-throughput distributed APIs. He writes about distributed systems, backend performance, and AI-native engineering workflows.